

The Ultimate Guide to Sourdough Starter Tips, Tricks, and Troubleshooting
When it comes to baking homemade bread, sourdough is king. The tangy, complex flavor of a freshly baked sourdough loaf is unmatched by any store-bought bread. And at the heart of every great sourdough recipe is a healthy, thriving starter. In this article, we'll cover everything you need to know to keep your sourdough starter happy and active. From selecting the best flour and tools to troubleshooting common problems, we've got you covered.
Part I: The Importance of Ingredients and Tools
Before we delve into the nitty-gritty of managing sourdough starters, let's first discuss the importance of using the right ingredients and tools.
Flour selection and its impact on your starter
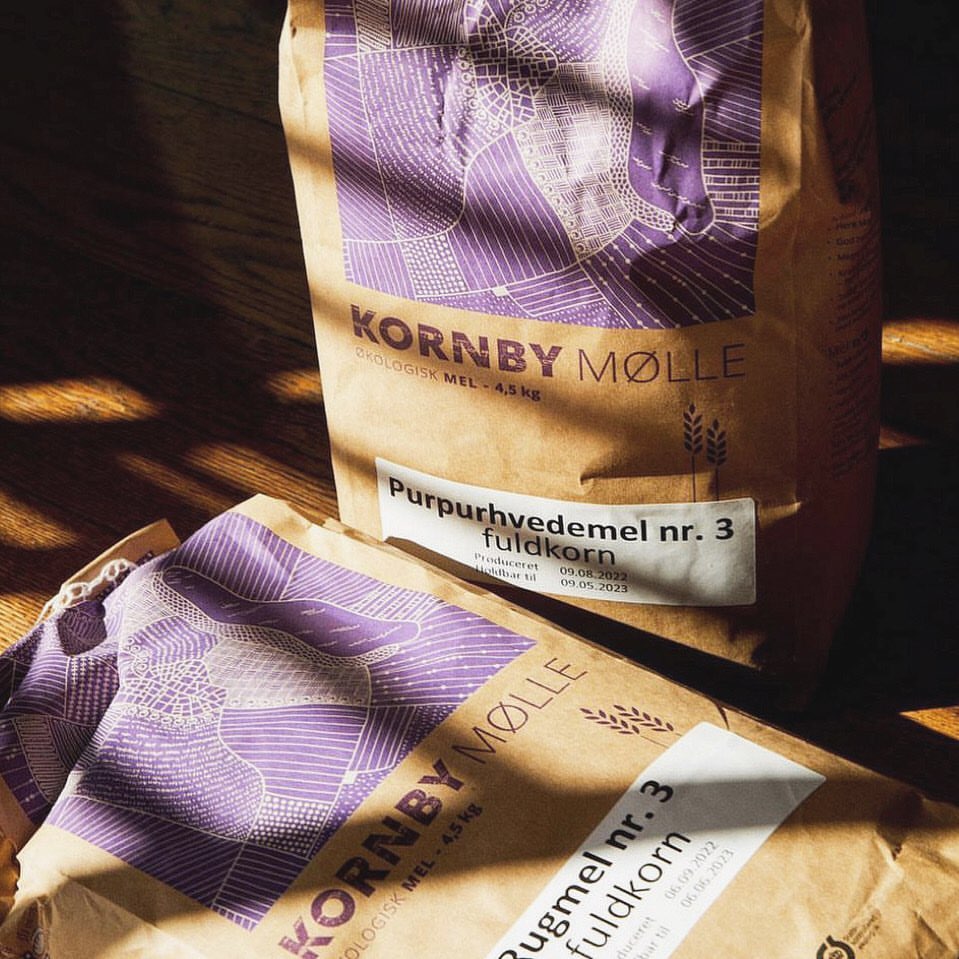
The type of flour you use to make your starter plays a crucial role in its success. In general, you'll want to use high-quality flour that is unbleached and unbromated. Flours that are too processed or contain unnecessary additives may hinder the natural fermentation process.
Most bakers opt for all-purpose or bread flour for their starters, but there are plenty of other options to consider. Whole grain flours like rye or spelt can add unique flavors and nutrients to your starter, while specialty flours like type 00 (a type of flour with a super-fine texture) can result in a smoother, silkier texture in your bread.
The role of water quality
Sourdough starters require water to properly ferment, which means the quality of your water can affect the health of your starter. Chlorinated water can inhibit fermentation, so it's best to use filtered or distilled water if possible. You'll also want to make sure the water you use is at room temperature, as hot or cold water can shock the yeast and bacteria in the starter.
Essential tools and equipment
While sourdough can technically be made with just a bowl and your hands, having the right tools can make the process much easier and more consistent. Some essential tools to consider include:
- A kitchen scale: Measuring your flour and water by weight (rather than volume) can help ensure consistent results.
- A dough scraper: Used for cutting and shaping dough.
- A proofing basket: Also known as a banneton, this basket helps the dough maintain its shape during proofing.
- A bread scoring tool: Used to create slashes in the dough before baking, which helps control the rise of the bread.
Part II: Understanding and Managing Sourdough Starter Hydration
Hydration refers to the ratio of water to flour in your sourdough starter. A higher hydration (more water) will result in a looser, more batter-like starter, while a lower hydration (less water) will result in a stiffer, more dough-like starter.
Hydration levels and their effects on your starter
Different hydration levels can affect the flavor, texture, and rise of your sourdough bread. A higher hydration will result in a tangier flavor and more open crumb (the airy pockets inside the bread). A lower hydration will result in a milder flavor and a denser crumb.
Adjusting hydration for various flours
Different flours absorb water differently, which means you may need to adjust the hydration of your starter based on the type of flour you're using. For example, rye flour tends to absorb more water than wheat flour, so you may need to reduce the amount of water in your starter to compensate.
It's important to note that changes in hydration will also affect the feeding schedule of your starter (more on that later).
How hydration impacts sourdough flavor and texture
As mentioned, hydration can greatly affect the flavor and texture of your sourdough bread. A higher hydration will result in a tangier, more complex flavor, as well as a more open crumb. A lower hydration will result in a milder, less tangy flavor and a denser crumb.
Additionally, hydration can affect the texture of the dough itself. A higher hydration will result in a wet, sticky dough that requires some finesse to shape. A lower hydration will result in a stiffer, easier-to-shape dough.
Part III: Feeding Your Sourdough Starter

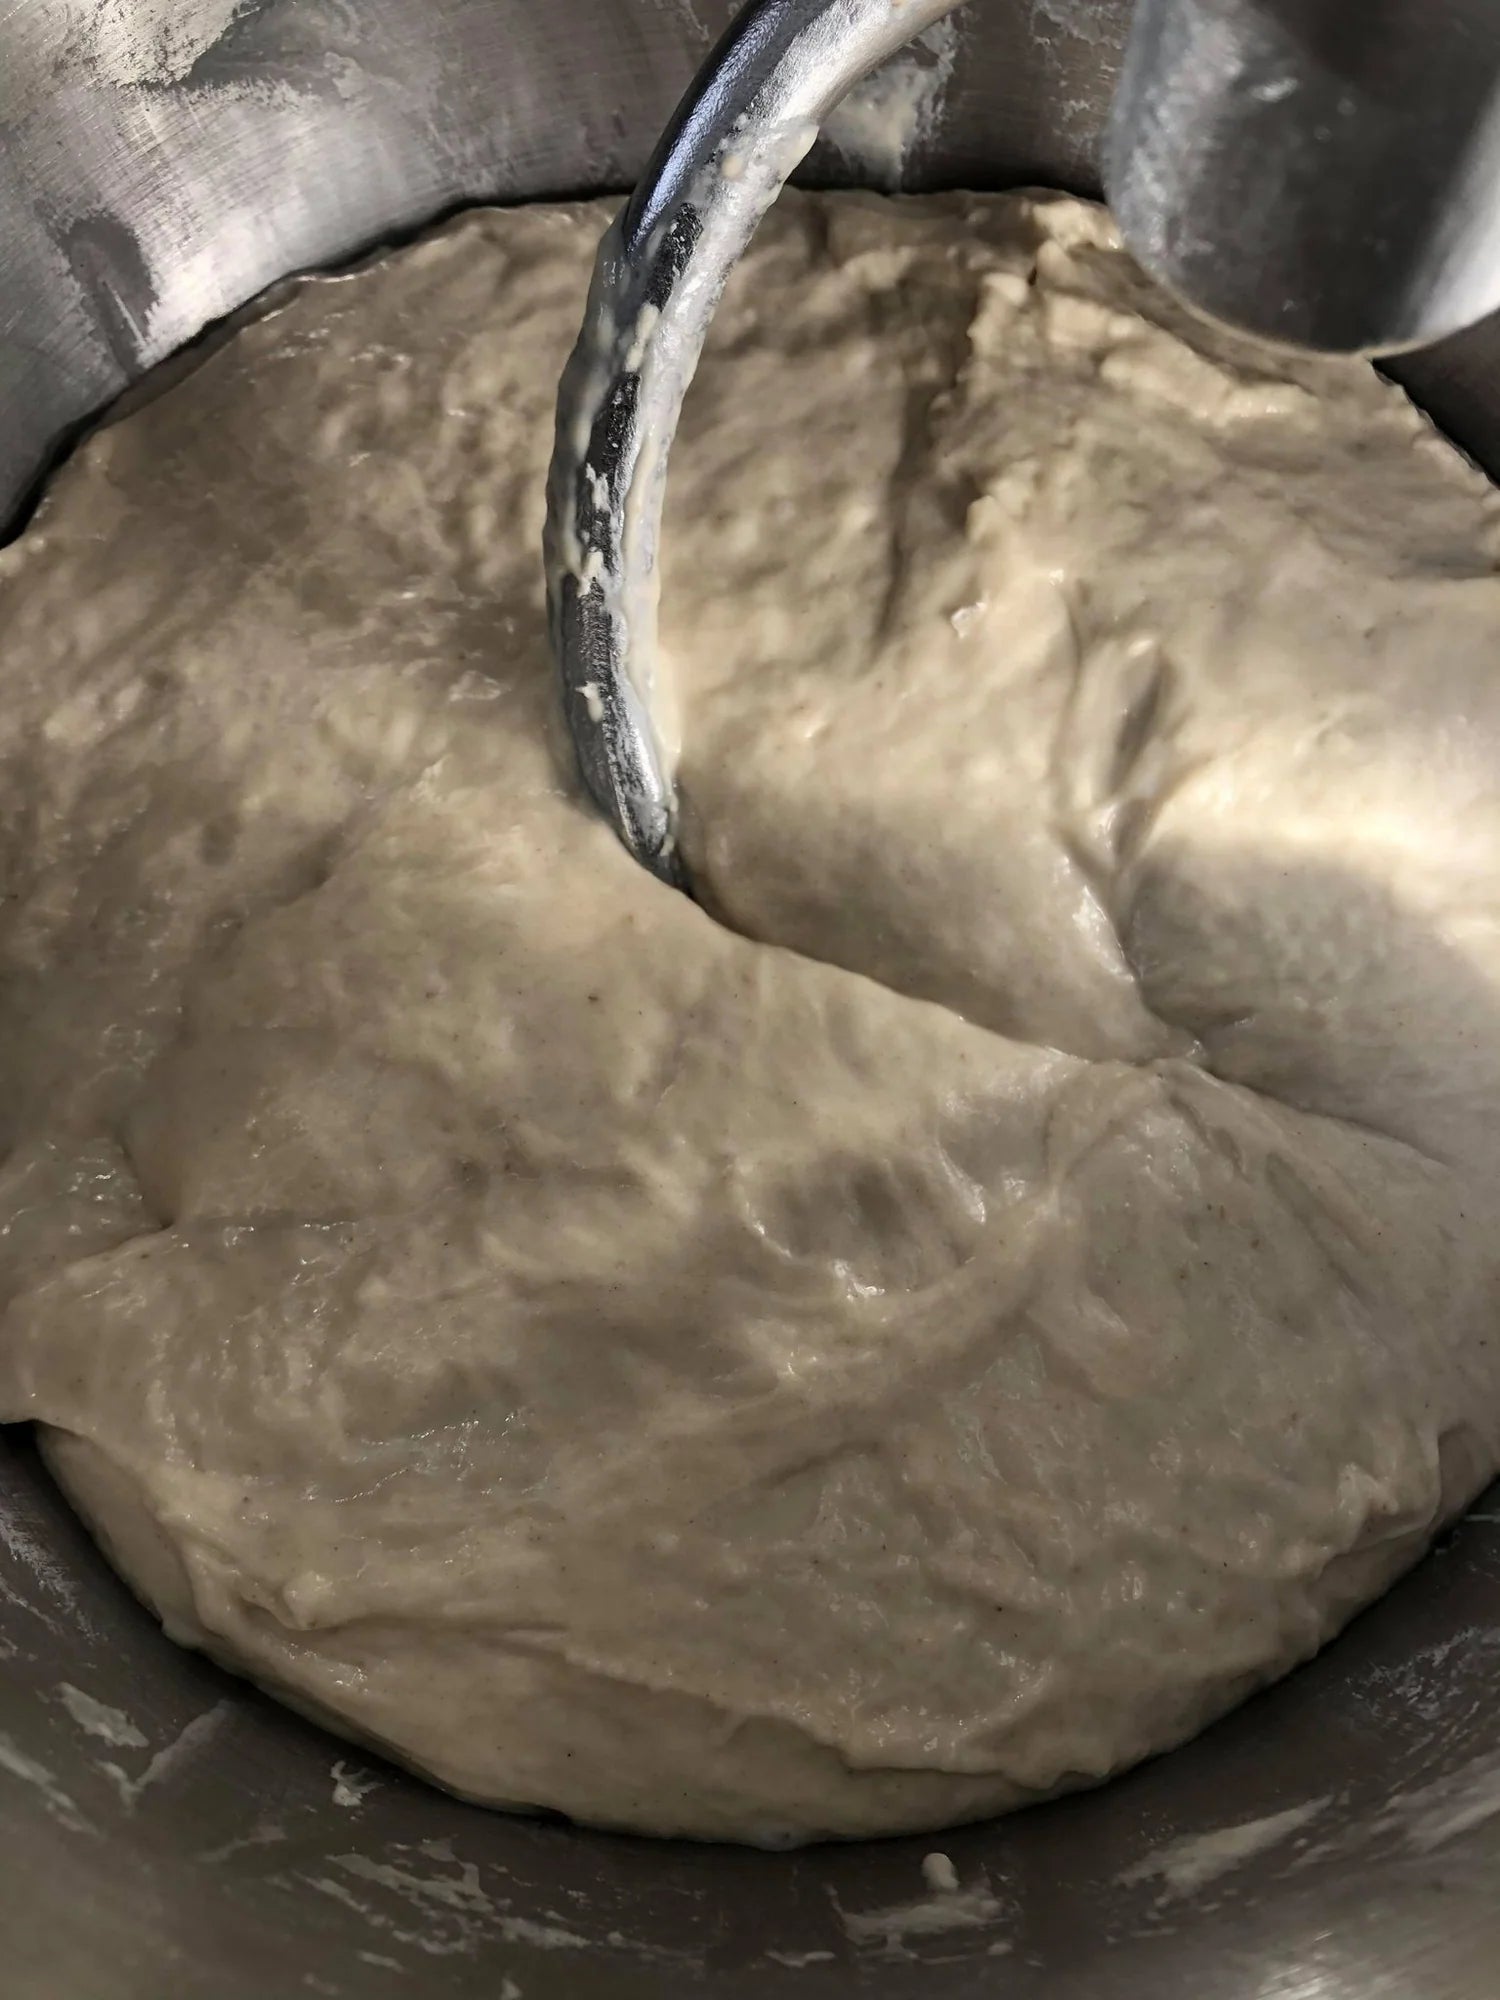
Feeding your sourdough starter is crucial for keeping it healthy and active. Essentially, feeding your starter means adding fresh flour and water to create a new batch of starter, which in turn feeds the yeast and bacteria present in the current batch.
The importance of consistent feeding
Consistency is key when it comes to feeding your sourdough starter. Skipping a feeding or changing the feeding schedule can throw off the delicate balance of yeast and bacteria in the starter, which can result in a weak or inactive starter.
In general, it's best to feed your starter at least once a day at room temperature, or every few days if stored in the refrigerator (more on that later).
Feeding schedules for room temperature vs. refrigerated storage
If you plan to bake with your sourdough starter often, it's best to keep it at room temperature and feed it once a day. If you only bake occasionally or want to slow down the fermentation process, you can store your starter in the refrigerator. When stored in the fridge, you can get away with feeding it every few days.
However, it's important to note that storing your starter in the refrigerator for too long (several weeks or more) can weaken the yeast and bacteria, so it's important to take it out and feed it regularly to keep it active.
How to adjust feeding ratios based on starter activity
The feeding ratio refers to the amount of flour and water you add to your starter when feeding it. For example, a 1:1 ratio means you're adding equal parts flour and water to the starter. A 1:2 (flour:water) ratio means you're adding double the amount of flour as water.
The feeding ratio can affect the fermentation process and growth of the starter. If your starter is particularly active and doubling in size quickly after a feeding, you may want to increase the ratio (for example, from 1:1 to 1:2) to slow down the fermentation and make the starter last longer between feedings. On the other hand, if your starter is sluggish, you may want to decrease the ratio to encourage more growth.
Part IV: Sourdough Starter Maintenance Techniques
Maintaining a healthy, active sourdough starter requires more than just regular feedings. Here are some additional techniques to keep in mind.
Starter aeration and stirring
Sourdough starters need oxygen to thrive, which means you'll need to aerate the starter occasionally to keep it healthy. Aeration involves stirring the starter vigorously to incorporate air.
You can also stir your starter regularly (once or twice a day) to keep the yeast and bacteria evenly distributed throughout the starter.
Splitting and maintaining multiple starters
If you bake with sourdough often, you may want to maintain multiple starters of different hydration levels or flours. This can help you create a wider variety of breads and experiment with different flavors and textures.
To split a starter, simply divide it into two separate containers and feed each one separately. Make sure to label the containers so you can keep track of which is which.
Reviving a neglected or inactive starter
If you've neglected your sourdough starter for a few days (or even weeks), don't worry - it's not necessarily dead! To revive a neglected starter, you'll need to feed it regularly and give it time to reawaken.
Start by taking the starter out of the fridge (if that's where it's been stored) and feeding it twice a day at room temperature. Depending on how inactive the starter is, it may take several feedings (or even a week or more) to get it back to its former glory.
Creating a backup starter for added security
If you're particularly attached to your sourdough starter (or rely on it for frequent baking), you might want to create a backup starter in case anything happens to the original. This involves simply creating a new starter from scratch and feeding it regularly, just like you would with the original.
Part V: Troubleshooting Common Sourdough Starter Problems
Even with proper care and maintenance, sourdough starters can sometimes encounter issues. Here are some common problems and how to solve them.
Recognizing and addressing hooch formation
Hooch is the gray liquid that can form on top of your sourdough starter between feedings. It's a sign that the starter is hungry and needs to be fed.
To get rid of hooch, simply pour it off and feed your starter immediately. If hooch forms regularly, it may be a sign that you need to adjust your feeding schedule (either feed more regularly or increase the feeding ratio).
Dealing with mold and unwanted bacteria
If you notice mold growing on your sourdough starter, it's best to throw it out and start over with a fresh batch. Similarly, if your starter develops a foul odor or off-colors, it may be contaminated with unwanted bacteria and should be discarded.
To prevent mold and unwanted bacteria from forming, make sure to store your starter in a clean, airtight container and avoid letting any foreign objects (like a dirty spoon or flour) come in contact with the starter.
Solving issues with starter not rising or falling too quickly
If your sourdough starter isn't rising or falling too quickly after a feeding, it may be a sign that something is off. Here are some potential causes and solutions:
- Not enough food: Make sure you're feeding your starter regularly and with enough flour and water.
- Temperature: Sourdough starters prefer a warm (but not hot) environment. If the temperature is too low, the fermentation process may slow down.
- Changes in flour or water: If you've recently switched flours or started using a different water source, it could be affecting your starter. Try reverting to your original ingredients or gradually adjusting to the new ones.
- Contamination: If your starter is contaminated with unwanted bacteria or mold, it may struggle to ferment properly. Consider discarding and starting fresh with clean equipment and utensils.
Remedies for off smells and excessive acidity
A sourdough starter may sometimes produce unpleasant smells or excessive acidity, which can impact the taste and texture of your bread. Here are some tips for addressing these issues:
- Refresh your starter: A fresh feeding can help reduce the acidity level and improve the smell. Try feeding your starter with a 1:1:1 ratio of flour, water, and starter, and giving it a few hours (or even a full day) to ferment before using it in a recipe.
- Adjust feeding ratios: If you consistently notice off smells or high acidity, your feeding ratio may be off. Experiment with reducing the amount of starter you use in each feeding or increasing the feeding intervals to slow down fermentation.
- Change feeding flour: Some flours (such as rye flour) can contribute to higher levels of acidity in a sourdough starter. Try switching to a different flour or reducing the amount of rye in your recipe.
- Use a milder sourdough starter: If the acidity level is consistently too high, you may want to try starting a new sourdough starter with a milder culture. This can involve gradually adjusting the feeding ratio to encourage the growth of a less acidic culture.
Temperature Control and its Impact on Sourdough Starters
Temperature is a critical factor in the fermentation process of a sourdough starter. The ideal temperature range for optimal fermentation is between 70-80°F (21-27°C). Here are some tips for maintaining consistent temperatures:
- Use a thermometer: A kitchen thermometer can help you track the temperature of your starter and make adjustments as necessary.
- Experiment with different fermenting environments: You can use a warming mat, a proofing box, or even a simple cooler to create a consistent environment for your starter.
- Adjust feeding schedules: Temperature can impact how quickly your starter ferments and needs to be fed. Consider adjusting your feeding intervals based on the temperature to ensure consistent growth and activity.
- Monitor seasonal changes: Temperature fluctuations between seasons can impact your starter. Be aware of these changes and adjust accordingly.
Adapting Your Sourdough Starter for Different Recipes

While a sourdough starter is primarily used for making sourdough bread, it can be adapted for different recipes as well. Here are some tips for modifying your starter:
- Adjust hydration levels: Depending on the recipe, you may need to adjust the hydration level of your starter. Don't be afraid to add more water or flour to achieve the desired consistency.
- Modify the feeding ratio: Depending on the recipe and desired flavor profile, you may need to adjust the feeding ratio of your starter. Experiment with increasing or decreasing the amount of flour and water used in each feeding.
- Transition between different types of flours: If you're transitioning between different types of flour (e.g. all-purpose to whole wheat), you may need to adjust the feeding schedule or ratio to help the starter adapt to the new flour.
Tips for Using Discarded Sourdough Starter
Discarded sourdough starter is simply the excess starter that is removed during the feeding process. While it may seem like a waste, there are many creative uses for it. Here are some tips:
- Use in recipes: Discarded starter can be used in recipes such as pancakes, waffles, and crackers for added flavor and nutrition.
- Create a starter backup: You can use discarded starter to create a backup starter in case your primary one fails or becomes contaminated.
- Share with friends: If you have more discarded starter than you can use, consider sharing it with friends or family who are interested in baking.
Conclusion
A healthy sourdough starter is an invaluable tool for any baker and can be the basis for a wide range of delicious breads and other baked goods. By following the tips and tricks outlined in this guide, you can learn how to create and maintain a thriving sourdough starter that will serve you well for years to come.
But baking is about more than just technique and skill – it's also about sharing and community. In that spirit, we encourage readers to share their own experiences and learnings with us and with each other. Whether you have a tried-and-true recipe that you'd like to share, a unique ingredient or tool that you can't live without, or just a funny story about an overly enthusiastic starter, we want to hear about it!
One way to spread the sourdough love is to give someone a bottle of starter with a simple recipe on it – it's a thoughtful and delicious gift that can introduce someone to the joys of baking their own bread. And don't forget to keep experimenting and trying new things – that's the beauty of sourdough baking. Happy baking, and we can't wait to hear about your sourdough adventures!
Efterlad en kommentar
Denne side er beskyttet af hCaptcha, og hCaptchas Politik om beskyttelse af persondata og Servicevilkår er gældende.