
Want to achieve bakery-quality sourdough bread at home? The secret lies in using a baking steel! This guide will teach you how to harness the power of a baking steel to create sourdough loaves with a crisp, crackly crust and an airy interior.
Why Use a Baking Steel?
A baking steel mimics the intense heat of a professional bakery oven, providing the necessary thermal energy for optimal oven spring and crust development. The steel's high heat capacity ensures consistent baking and helps create that desirable crispy crust.
Creating Steam for a Crackly Crust
Steam plays a crucial role in sourdough baking. It keeps the surface of the dough moist during the initial stages of baking, allowing the loaf to expand fully and preventing a tough, dry crust.
Step-by-Step Baking Guide
- Preheat: Place your baking steel in the oven and preheat to 250°C (482°F) for at least 40 minutes. This ensures the steel is adequately heated.
- Create Steam: Before placing your bread in the oven, create a steamy environment. You can do this by placing a heat-resistant pan or bowl filled with boiling water on the bottom rack of the oven.
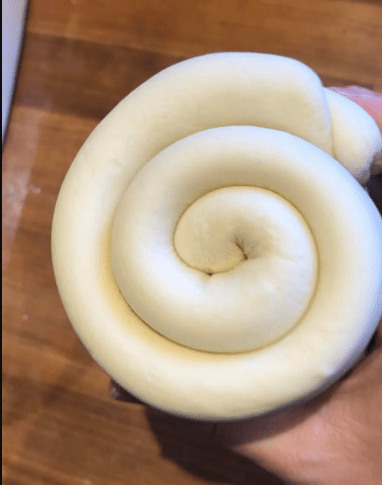
- Score the Dough: Score your shaped sourdough loaf at a 45-degree angle using a sharp knife or razor blade. Scoring allows for controlled expansion during baking.
- Bake with Steam: Carefully transfer the scored loaf onto the preheated baking steel. Bake for 20 minutes with the steam source in the oven.
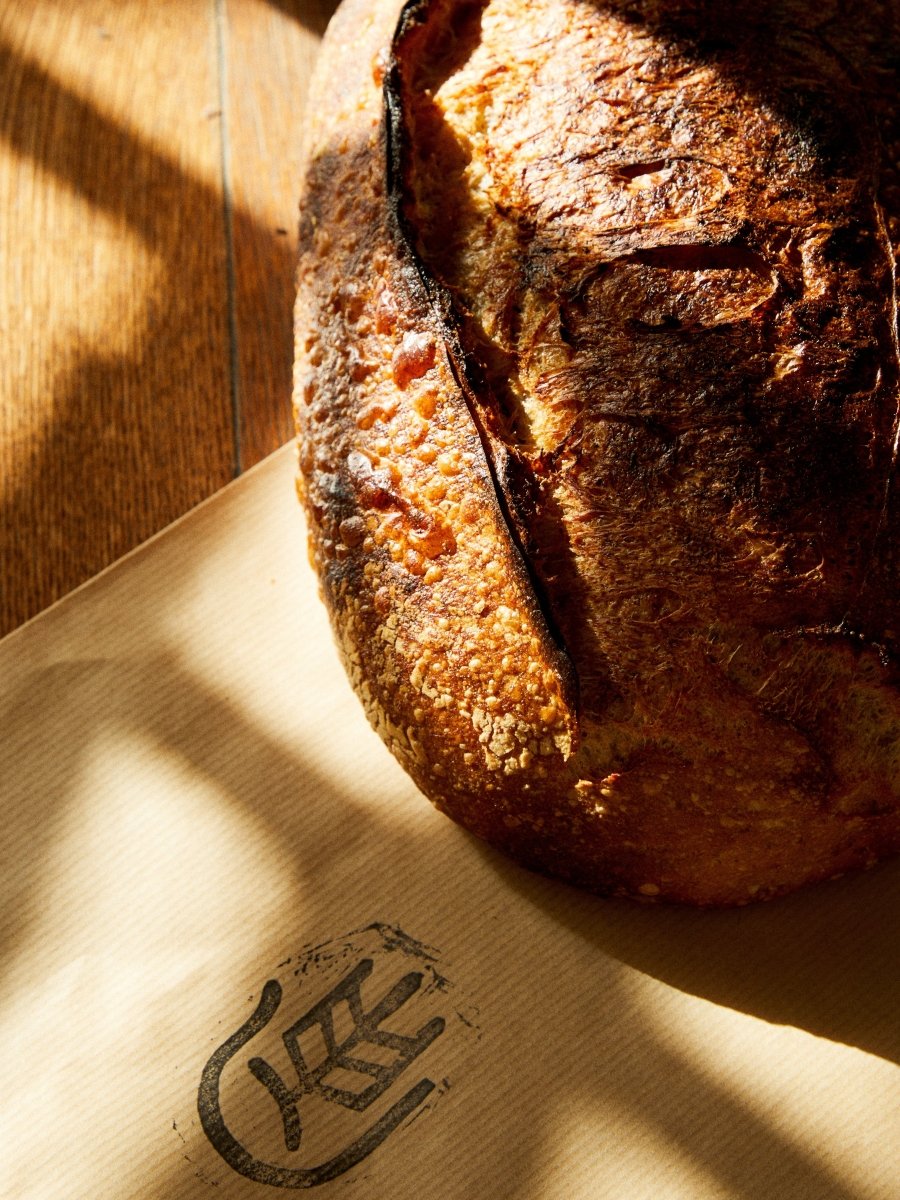
- Remove Steam: After 20 minutes, remove the steam source (the pan or bowl with water). You'll notice that the bread has risen significantly and the cuts have opened up, creating beautiful "ears."
- Continue Baking: Reduce the oven temperature to 200°C (392°F) and continue baking for another 20-25 minutes, or until the crust is a deep golden brown and the internal temperature reaches at least 95°C (203°F).
- Cooling: Once baked, carefully remove the bread from the oven and cool it completely on a wire rack for about 1 hour before slicing and enjoying.
Tips for Success
- Baking Steel Placement: If possible, position the baking steel in the middle or lower third of your oven for optimal heat distribution.
- Steam Safety: Use caution when handling boiling water and transferring the bread to the hot baking steel.
- Internal Temperature: Use a thermometer to ensure the bread is fully baked.
- Cooling: Allow the bread to cool completely before slicing to prevent a gummy texture.
Conclusion
Baking sourdough bread with a baking steel can significantly enhance the quality of your loaves. By following these steps and utilizing the power of steam, you can achieve bakery-worthy results with a crisp, crackly crust and a beautifully open crumb. Happy baking!

Del på sociale medier:
Get Your Sourdough Starter Going
How to shape Sourdough Loafs
1 comment
Hej
Satte i går sat en ny surdej i gang – med 20 gr. vand, 10 gr. hvedemel og 10 gr, rugmel – har rørt her til morgen, hvornår skal den fordres og med hvor meget?